
Common DIY Floor Sanding Mistakes — And Why They’re Costly to Fix
For homeowners weighing up whether to sand their floors themselves, it’s worth understanding not just the process but where things typically go wrong. DIY floor sanding mistakes aren’t always obvious until the finish goes on — and by that point, some of them are very difficult or expensive to correct.
This isn’t intended to put anyone off having a go in the right circumstances. But it is an honest account of the problems we’re most commonly called in to fix after a DIY attempt hasn’t gone to plan.
Starting With the Wrong Grit
One of the most common errors is starting with an abrasive that’s either too coarse or too fine for the floor’s condition.
Starting too coarse on a floor that doesn’t need it removes more material than necessary and can leave deep scratch marks that take several subsequent passes to refine out — if they come out fully at all. On a thin engineered floor, aggressive early passes can eat through the wear layer entirely.
Starting too fine on a floor with a heavy old finish or significant surface damage means the abrasive loads up quickly, cuts inefficiently, and leaves the old finish partially in place. The result is a patchy, uneven surface that won’t take a new finish evenly.
Choosing the right starting grit requires an assessment of the floor’s condition, the type and thickness of the existing finish, and the species of wood. It’s a judgement call that comes with experience.
Not Checking for Raised Nails First
Before any sanding machine goes on a floor, every nail and fixing needs to be checked and any raised ones punched below the surface. This is a quick job with the right tools but an easy one to overlook, particularly if the floor looks broadly flat.
A raised nail caught by a sanding belt will tear the abrasive immediately — wasting an expensive belt — and can leave a gouge or streak across the floor surface that requires additional work to correct. On a drum sander moving at speed, the damage happens in a fraction of a second.
Professional floor sanders check every square metre of floor before the machines come out. It’s a habit that saves time, money, and damaged abrasives.
Letting the Drum Sanders Sit Still
This is the mistake that causes the most visible and difficult-to-fix damage. A drum sander in contact with the floor must keep moving. The moment it stops — even for a second or two — it cuts a visible depression or drum mark into the surface.
These marks are often only fully visible once the finish goes on and the light catches the floor at an angle. At that point, the options are limited: either live with the marks, or sand the floor again from scratch.
Avoiding this requires practice and confidence with the machine. First-time users are particularly vulnerable because they’re still getting used to the weight and movement of the equipment while also trying to work in straight lines and manage the power cable.
Sanding Against or Across the Grain
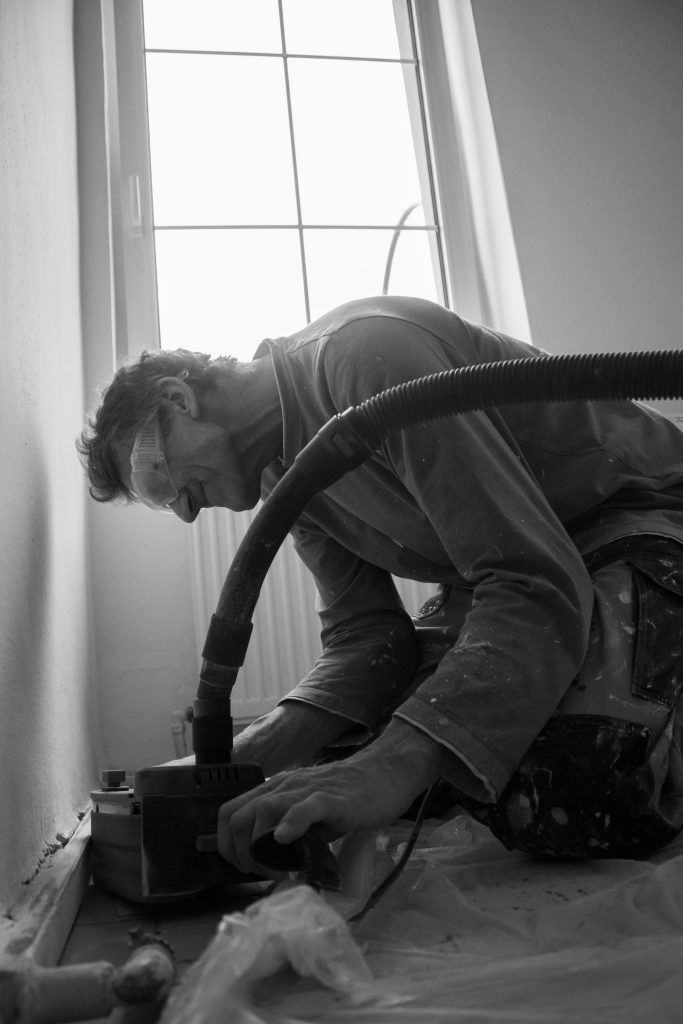
On straight-run board floors, sanding should follow the direction of the grain — along the length of the boards. Sanding across the grain leaves visible scratch marks that are extremely difficult to remove and will show clearly under any finish.
This sounds obvious, but in practice it’s easy to go wrong when navigating around obstacles, working in awkward spaces, or trying to blend the main sanded area with the edges done by the edge sander.
Parquet floors are a special case — because the blocks run in multiple directions, sanding must be done at 45 degrees to the pattern, which requires a different technique and more careful planning than a straight-run floor.
Uneven Abrasive Progression
As we touched on in our guide to why professional floor sanding equipment matters, a proper sanding job works through a carefully chosen sequence of grits from coarse to fine. Each pass refines the scratch pattern left by the previous one, so that by the time the finest grit is used, the surface is smooth and consistent.
Skipping grits — moving from a coarse abrasive directly to a fine one to save time — leaves deeper scratch marks from the coarser grit in the surface. These may not be obvious on bare wood but will show clearly under oil or hardwax oil finishes, and can cause adhesion problems under lacquer.
Using worn abrasives rather than changing them regularly has a similar effect. A loaded or blunted abrasive doesn’t cut cleanly — it burnishes the surface instead, which can actually seal the grain and affect how well the finish absorbs.
Neglecting the Edges
The main drum sander can’t reach the edges and corners of a room. These areas are done with a smaller edge sander, and the quality of the edge work has a significant impact on how the finished floor looks overall.
Common edge sanding mistakes include:
- Swirl marks left by circular edge sanders that haven’t been followed up with hand sanding along the grain
- Visible transitions between the main sanded area and the edges, where the two don’t blend smoothly
- Missed corners where neither the drum sander nor the edge sander reaches, leaving old finish or discolouration in the very corners of the room
Blending the edges smoothly into the main floor surface is one of the more skilled parts of the job and one of the areas where the difference between professional and DIY results is most visible.
Applying Finish Too Soon
After sanding, fine dust settles back onto the floor surface — sometimes invisibly. Applying finish before the surface has been properly cleaned traps dust particles under the coating, resulting in a rough, gritty texture once dry.
The floor needs to be thoroughly vacuumed and wiped down with a tack cloth before any finish goes on. This step is easy to rush when you’re keen to see the finished result, but cutting corners here undoes a lot of the work that’s gone before.
Temperature and humidity also matter. Applying lacquer or oil in a cold or damp environment can cause the finish to dry unevenly, stay tacky, or develop a cloudy appearance. Professional finishers are aware of these conditions and account for them — first-time applicators often aren’t.
Applying Finish Incorrectly
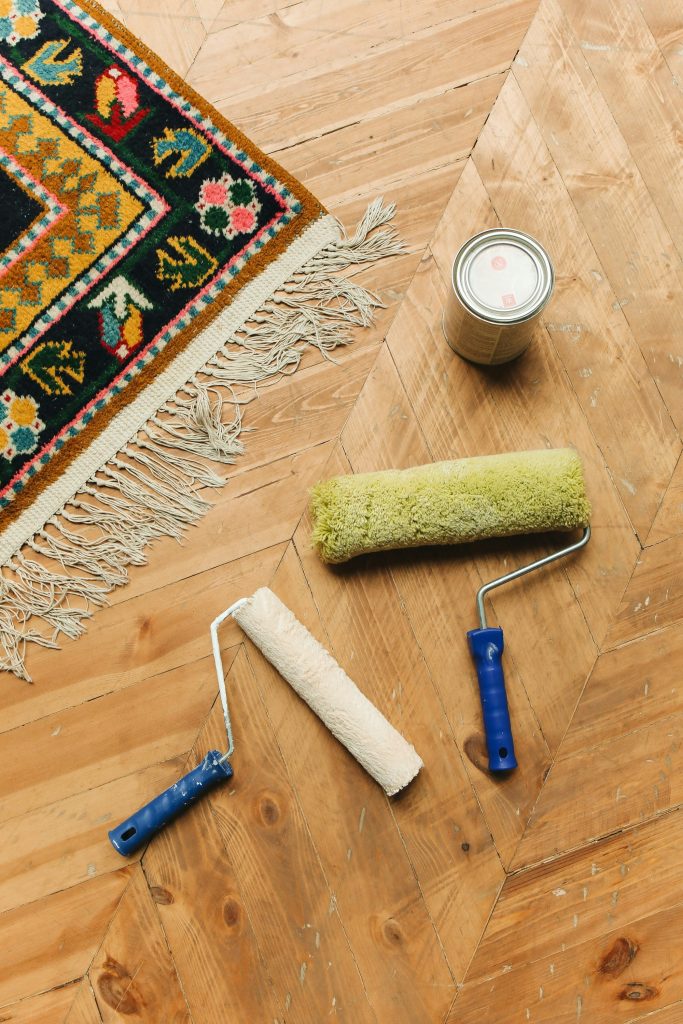
Even if the floor surface is perfectly prepared, the finish application itself has its own set of pitfalls:
- Lap marks where wet and partially dried finish overlap, leaving visible lines
- Bubbling caused by applying too thick a coat or working in poor ventilation
- Uneven sheen where coats have been applied inconsistently
- Missed patches that only become apparent once the finish dries
Lacquer in particular needs to be applied quickly and confidently across the whole floor without stopping. Any hesitation or uneven application tends to show. Oil is more forgiving, but still requires consistent application and careful buffing in.
The Cost of Putting Things Right
This is the practical point that matters most when weighing up DIY versus professional floor sanding. Many of the mistakes described above can be corrected — but correction means sanding the floor again, which costs time, money, and another layer of the wood’s thickness.
In some cases, particularly on engineered floors or thin solid boards that have already been sanded previously, there may not be enough material left to correct a badly executed DIY sand without replacing boards entirely.
As we discussed in our guide to DIY versus professional floor sanding, and in our 2026 guide to wood floor sanding costs in Surrey, the financial saving of DIY is real but needs to be weighed honestly against the risk of a result that costs more to fix than a professional job would have cost in the first place.
When to Call a Professional
If you’re looking at a floor that’s been DIY sanded and the result isn’t what you hoped for — visible drum marks, uneven finish, swirl marks at the edges — it’s worth getting a professional assessment before doing anything else. In many cases the damage is correctable, and knowing what you’re dealing with is the first step.
Surrey Wood Floor Sanding covers Reigate, Redhill, Dorking, Guildford, Epsom, and the wider Surrey area, as well as South London, Sussex, Hampshire, Kent, and Berkshire. We offer free site visits and honest assessments — including on floors that need remedial work after a DIY attempt.